Upon purchase, the general color theme of Hong House resembled the swatch below. I don’t have anything against pastels, but they’re not exactly what I would choose for my walls!

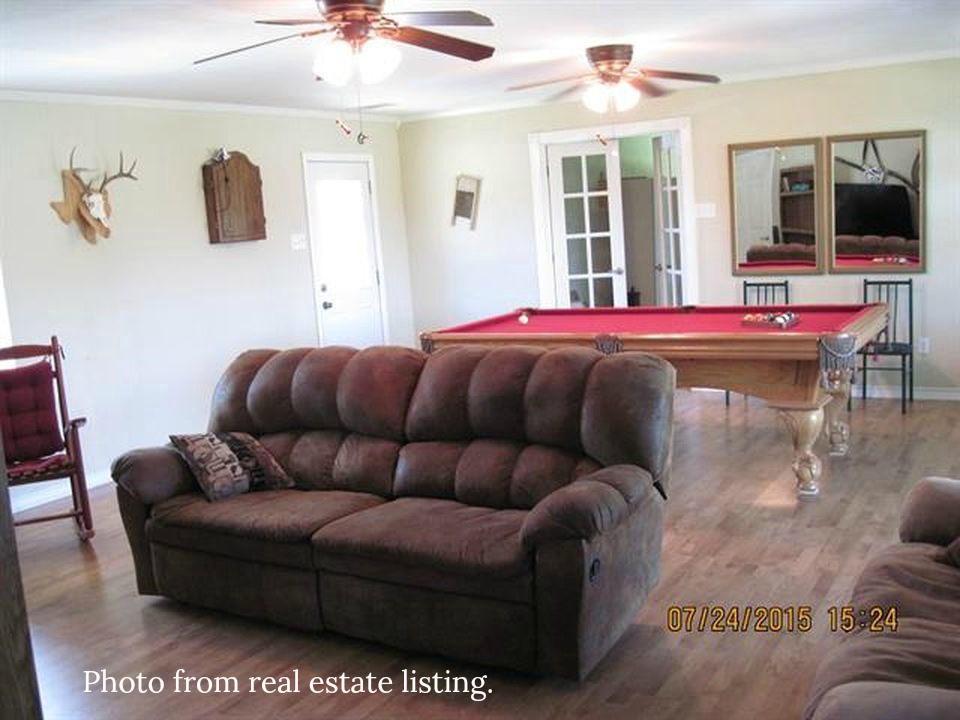
Oh, the glory of before photos! Had I known that I was going to start this blog, I would have tried to take better ones. We were anxious to get moved in and started on projects, so I didn’t spend much time and only snapped a few pictures. And we had already started moving some things in at this point, so everything is a mess! Since I didn’t take many photos, I have also included a few from the real-estate listing here.
The Kitchen –
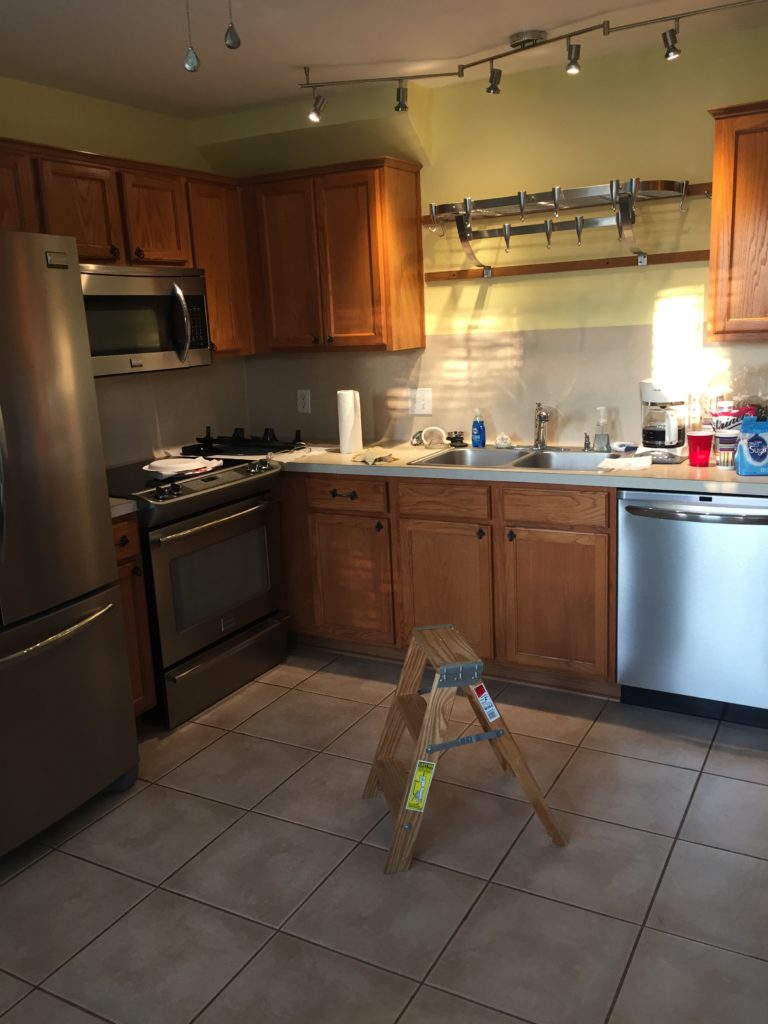

What had to change:
- wall color (not the worst wall color in the house, but sunshine yellow would not be our first choice)
- cabinet color (dated honey tone)
- countertops and backsplash (old, ugly Formica that was starting to crack)
- sink (way too shallow)
- tile grout (dingy and dirty looking)
See kitchen progress here.
The Living and Dining Rooms –
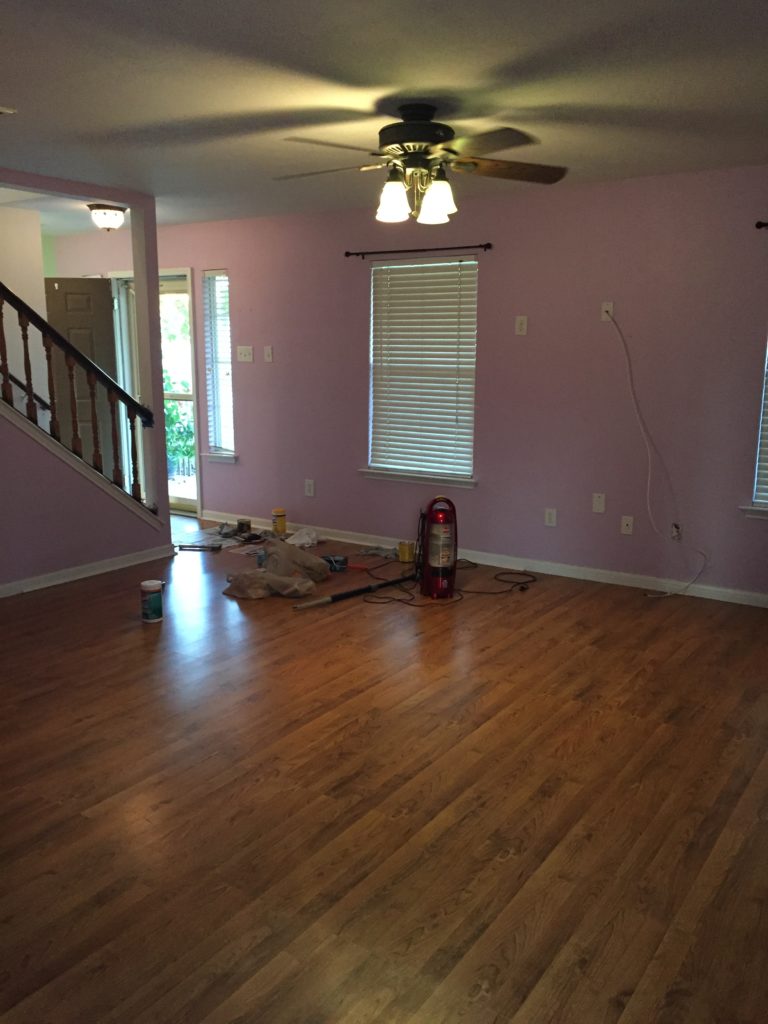
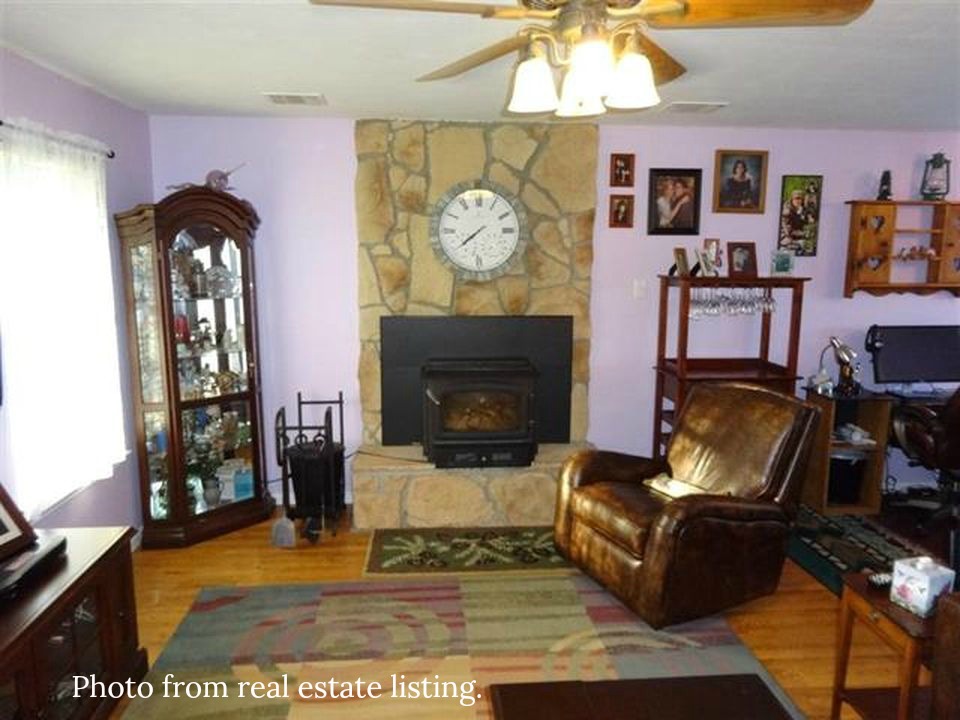
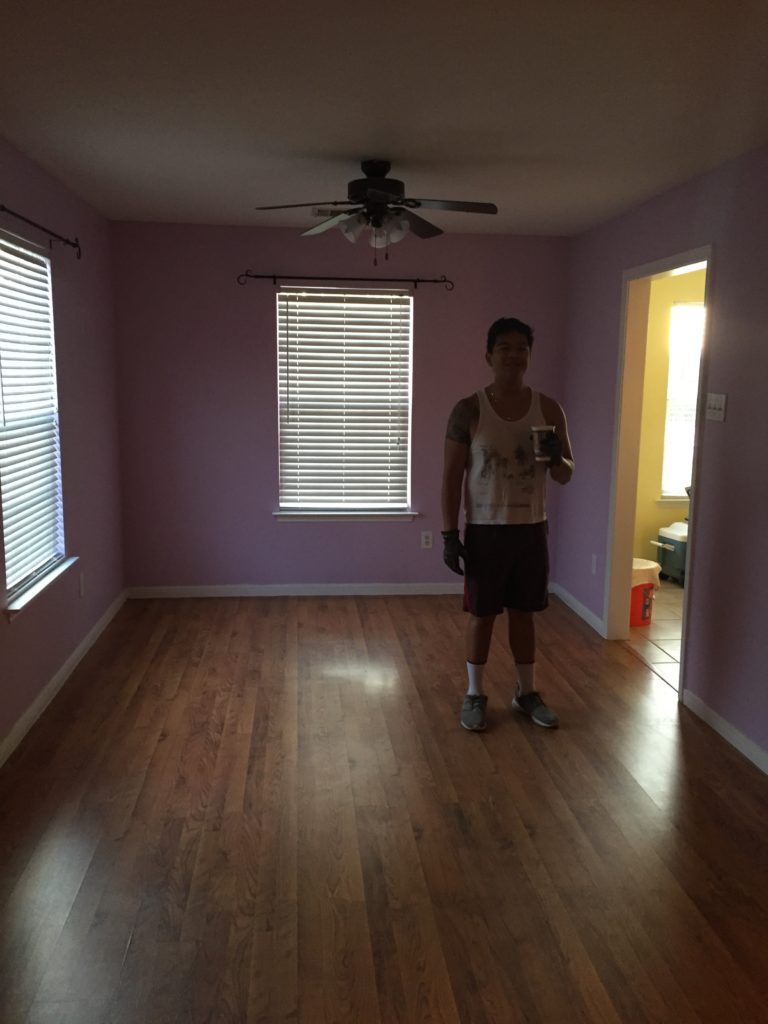
What had to change:
- wall color (that’s a given)
- flooring (it was a pretty cheap laminate that had some wear-and-tear, and we prefer darker wood laminate)
- removal of the ill-fitting, wood-burning stove that covered up the fireplace
See dining room progress here.
The Downstairs Hallway –
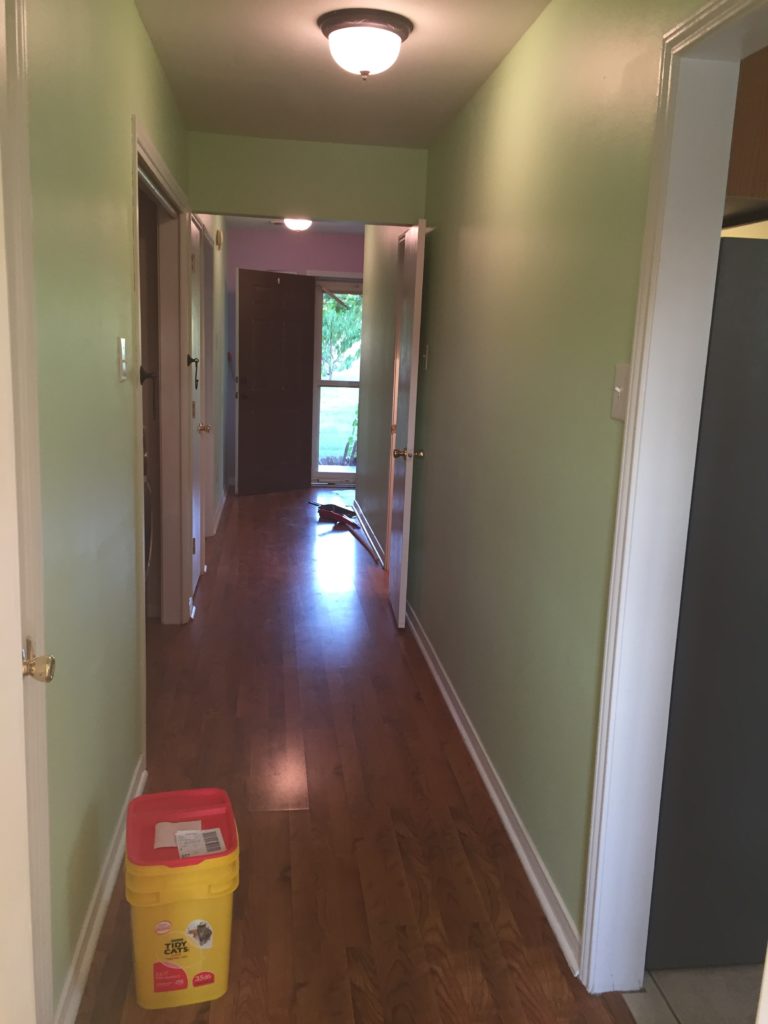

What had to change:
- wall color (your first glimpse of the pastel lime green – shockingly, there’s more to come)
- flooring (same as living and dining)
- add doors to the laundry closet (we had already removed the hideous red velvet curtain that covered the laundry nook)
- door knobs (don’t care for the gold-tone look)
The Staircase –
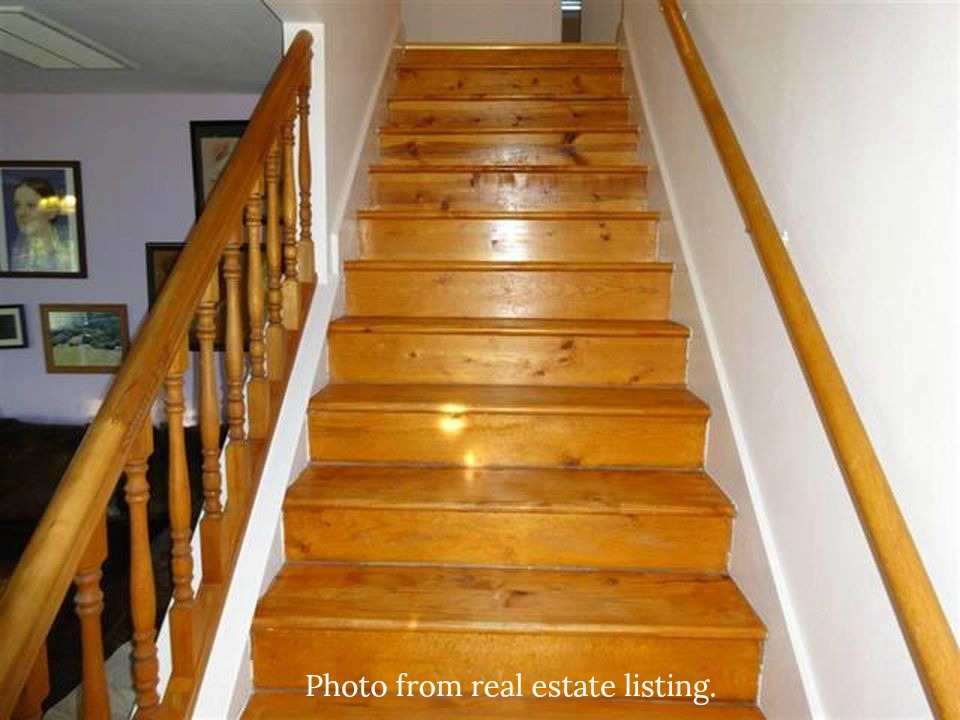
What had to change:
- wood tone (make it darker and/or paint)
- paint the spindles white
The Butler’s Pantry –
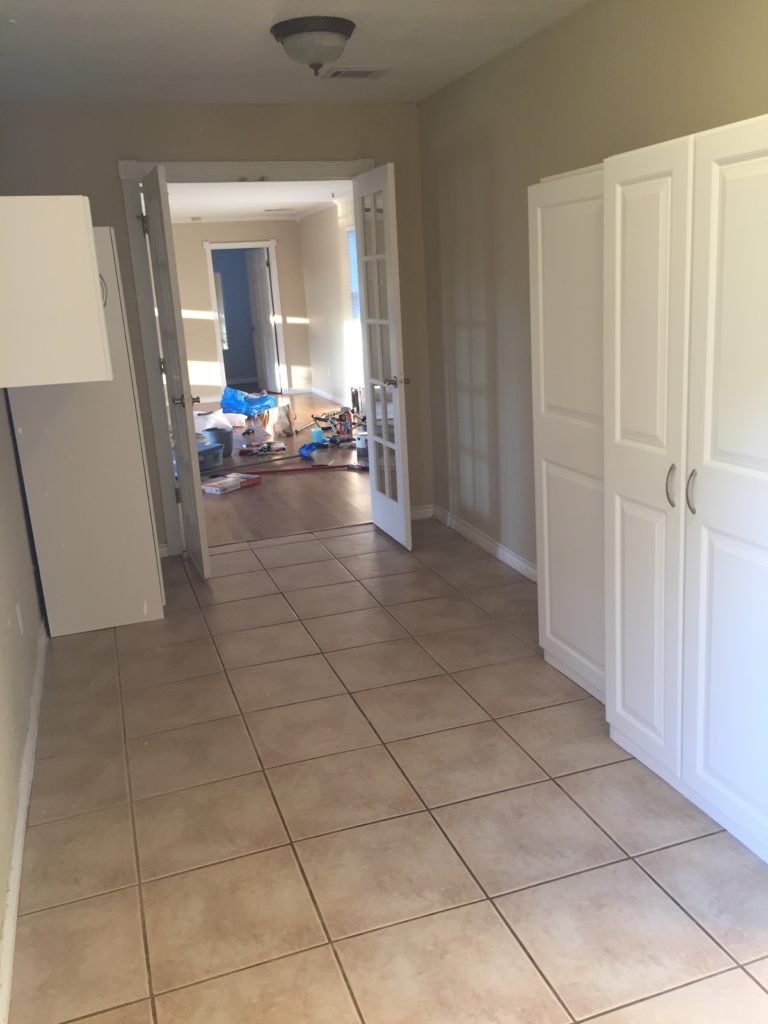
This was basically just an empty pass-through room between the kitchen and the den. The previous owners had used it for storage and had left some garage-grade cabinets in the space. Our vision for this area was a butler’s pantry with additional cabinets and counter space since our kitchen/pantry was a little lacking size-wise.
The Den –
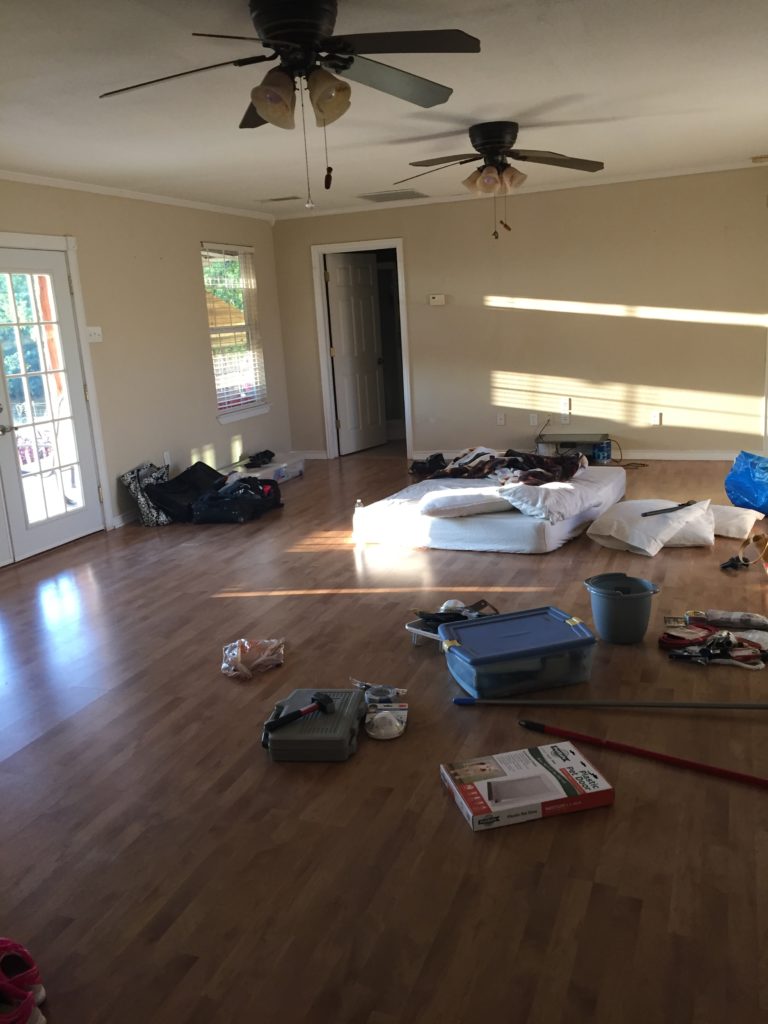
The den was obviously an addition to the original house, and the craftsmanship was shoddy to say the least. Our goal for this room was just to make it livable cosmetically (change the wall color and flooring) for now, and then address some of the more technical issues later when we have more time/budget.
The Master Bedroom –

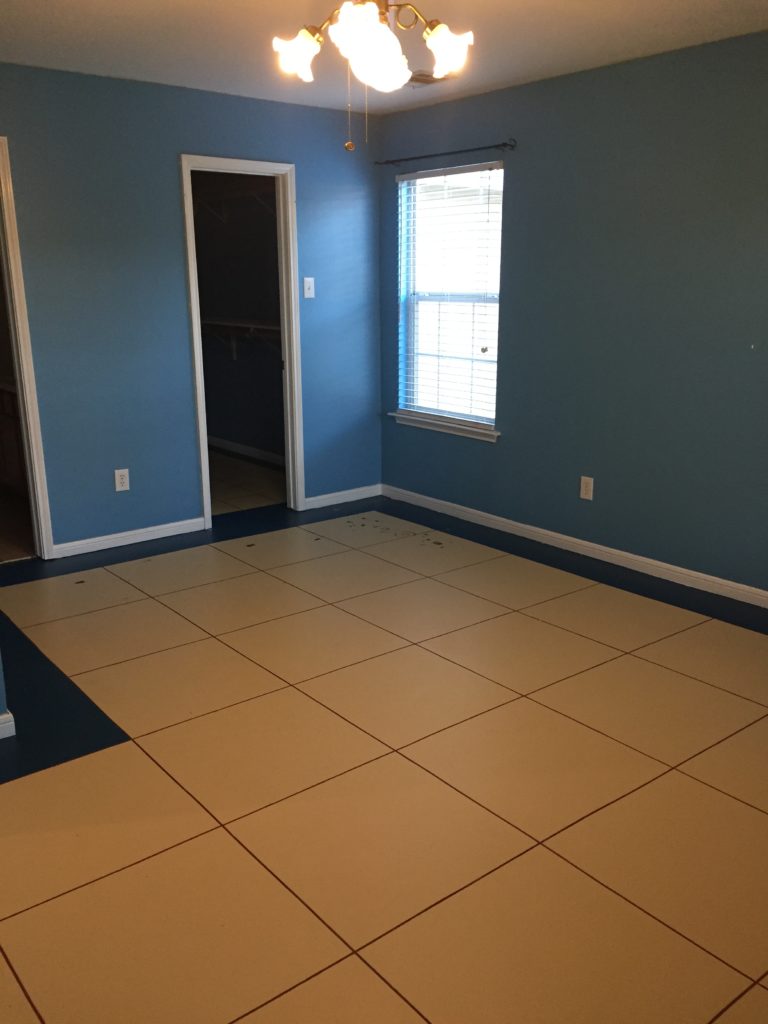
What that had to change:
- wall color
- flooring (this was painted concrete that was notched to look like tile)
- dated ceiling fan
The Upstairs Bedrooms –
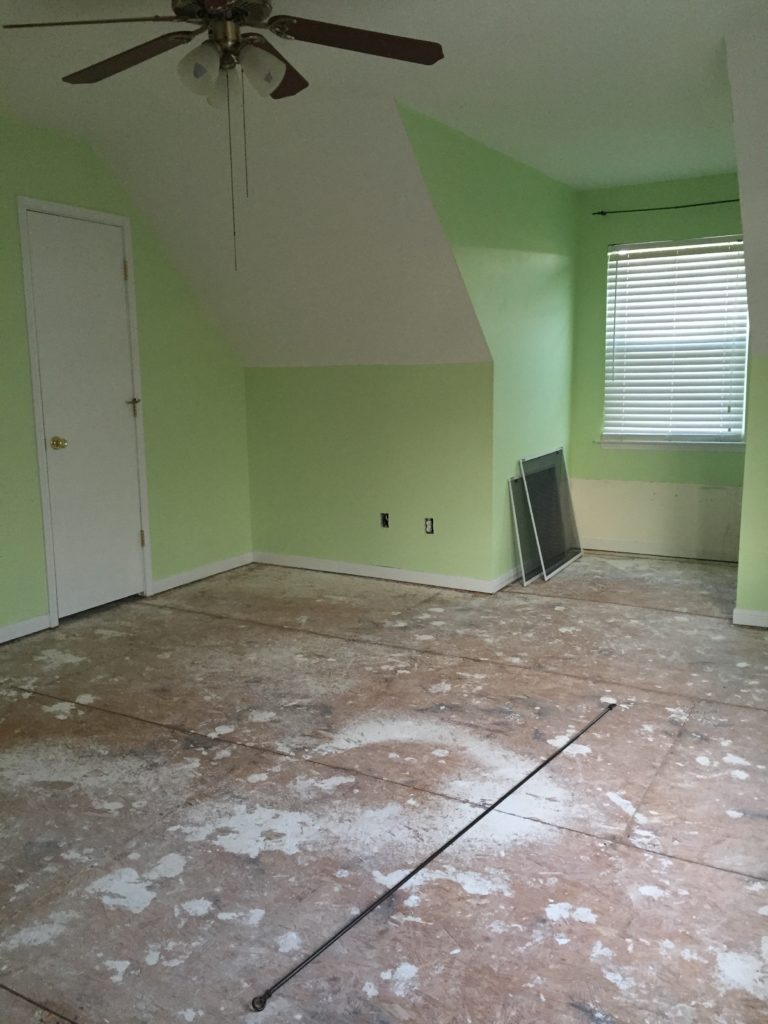
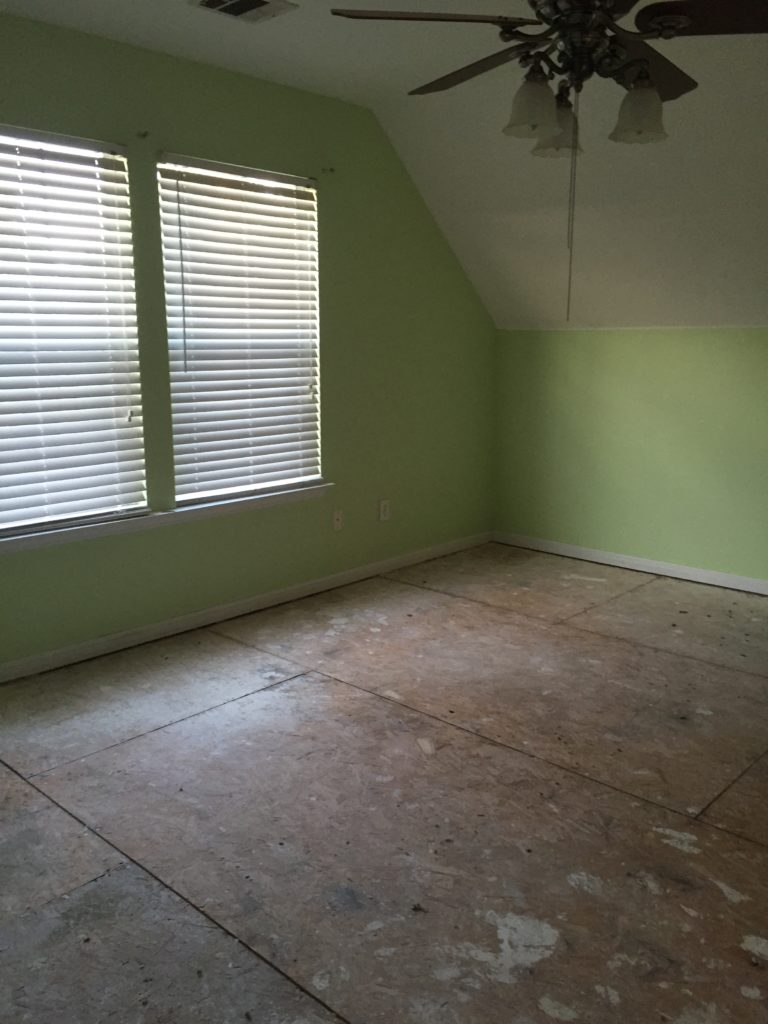
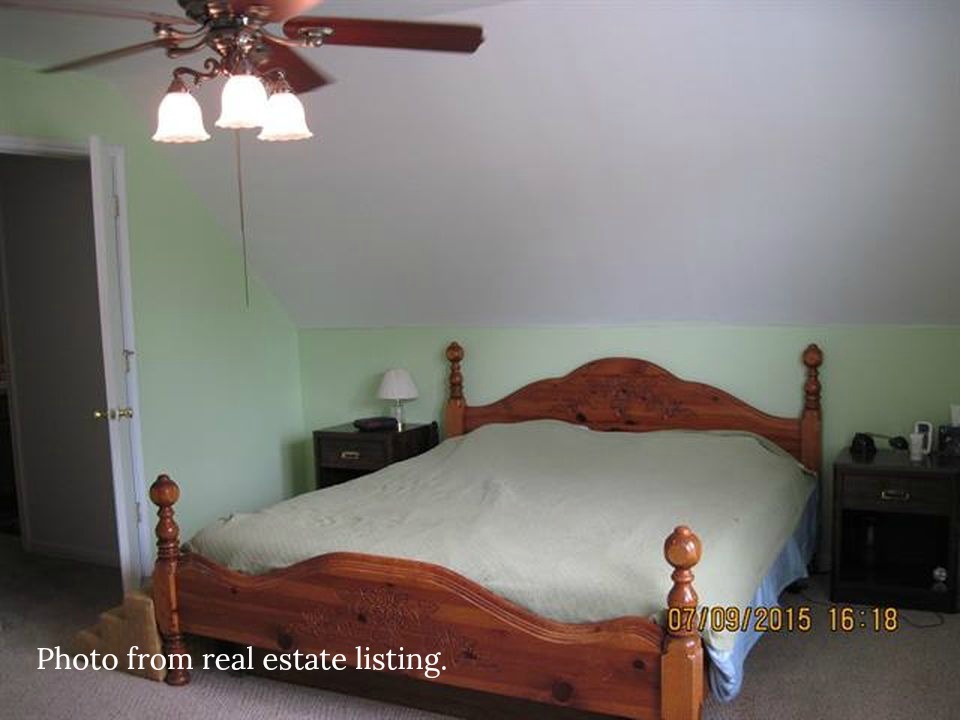
What had to change:
- wall color (more lime green)
- flooring (we had already ripped out the stinky, stained carpet at the point the first two photos above were taken)
- update ceiling fans
The Upstairs Bathroom –
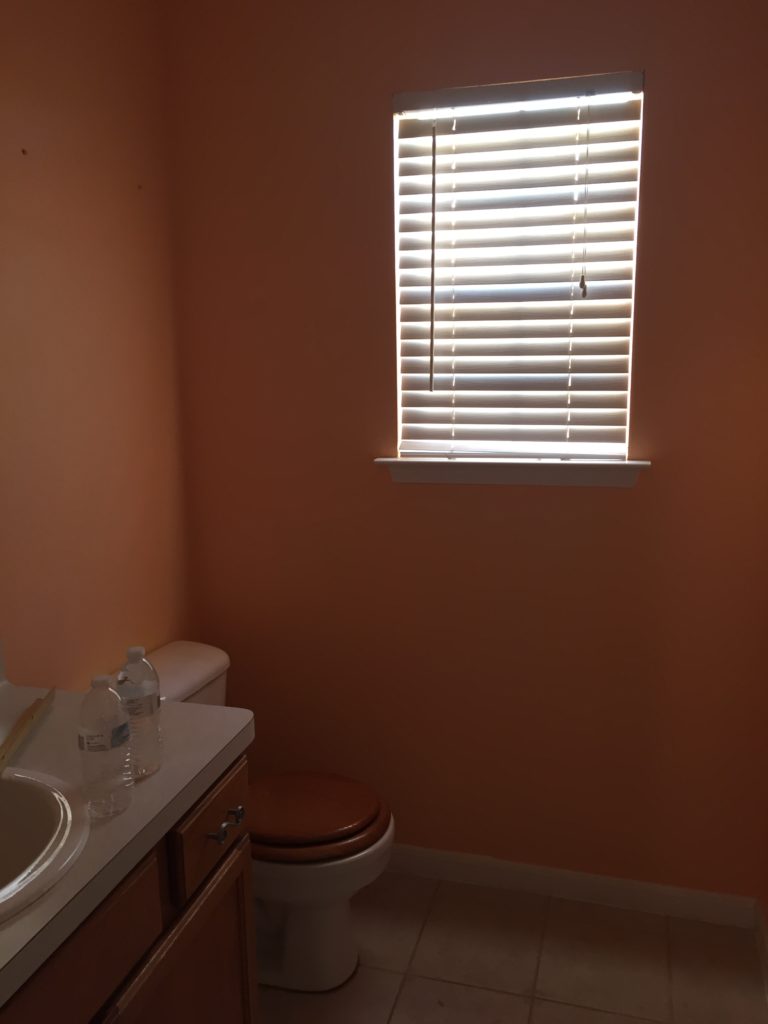
What had to change:
- wall color
- cabinet color (dated honey tone)
- countertop/sinks/fixtures (ugly Formica with stained sink and leaky, dated faucet)
- wood-tone toilet bowl lid
- old ceramic tile that had begun to crack
- update the shower fixtures (changing out the tub/shower would be a distant future project)
Summary –
Overall, the Hong House before photos are not the worst I’ve ever seen. Most of the updates needed were cosmetic, and no major layout changes were necessary. Soon I’ll be posting progress updates showing how we have transformed Hong House, room-by-room, and I’ll add links to those posts above. So please check back soon, the side-by-side before and afters are the best part!